ST-Link for Arm Cortex
In this topic:
Introduction
Designed for STMicroelectronics STM32 microcontrollers, ST-Link provides a low-cost option for flash programming and basic debugging. In winIDEA, ST-Link can be used to establish a debug connection and perform standard development tasks such as programming the target flash and running basic debug sessions. This makes it suitable for early development phases, such as initial bring-up and prototype validation.
For advanced development requirements (for example code coverage and timing analysis), use a TASKING BlueBox.
ST-Link is supported in winIDEA and can be used with a wide range of STM32 devices for direct programming and debug control.
Supported IDEs and licensing
•winIDEA IDE
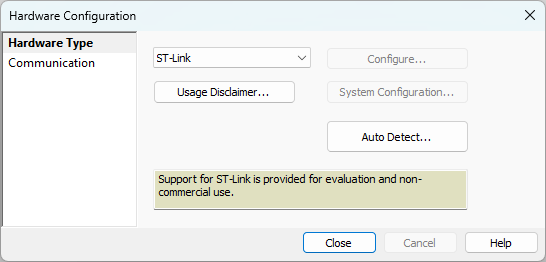
•Support for ST-Link is provided for evaluation and non-commercial use
•GCC compiler only (GCC installation included)
•No direct technical support - visit http://isystem.freeforums.org/ to get help through the user community
•Updates are provided on a non-regular base
Supported debugger
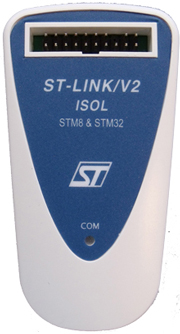
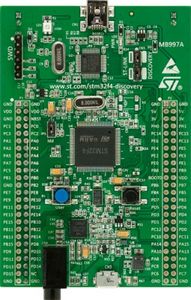
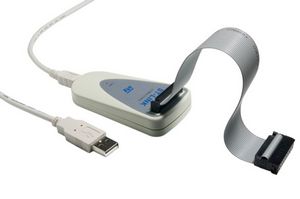
The ST-Link/ST-Link/V2/V3 debugger is either available as a separate unit or as part of the STM32 Discovery/Nucleo kits. For more information on the ST-Link hardware, visit the STMicroelectronic webpage http://www.st.com.
 |
 |
 |
Features
•JTAG and SWD interface
•Basic debug control (Reset, Stop, Break Points, Run,…)
•Flash download
Getting started
Please read Usage Disclaimer before using the ST-Link debugger.
1. Install ST-Link drivers.
a.Install the appropriate USB drivers from the STMicroelectronics website - https://www.st.com/en/development-tools/stm32-utilities.html#products.
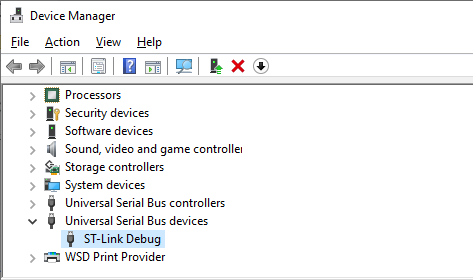
b.Connect the ST-Link debugger to the PC via an USB cable to check if drivers were successfully installed.
c.Check the list of devices connected to the PC and make sure there are no driver issues.
2. Create a new workspace in winIDEA in File | Workspace | New Workspace and select BlueBox Development Tools.
3. Select ST-Link in Hardware | Debugger Hardware | Hardware Type.
Usage Disclaimer button opens Software license agreement in TXT format.
4. Connect to the ST-Link hardware.
The ST-Link is connected via USB to the host PC running winIDEA. Connection between winIDEA and ST-Link is established automatically when any of the following commands is executed:
•Debug | Download
•Debug | Reset
•Debug | Attach
•Debug | Run
Mass erase
Mass Erase erases the target connected to ST-Link. Open Hardware | ST STM32xx | Mass Erase.
|
Mass Erase is available only when winIDEA is connected to the ST-Link hardware and the target CPU. |
