Hardware sampling with MegaSampling
In this topic:
•Perform MegaSampling in daqIDEA
•Perform MegaSampling in winIDEA Analyzer (advanced analysis)
Key points
Quickly profile real-time variables using MegaSampling by:
•Connecting to target via winIDEA (iC7pro, iC7max BlueBox)
•Configuring sampling (daqIDEA, winIDEA Analyzer, XCP, winIDEA SDK)
•Running acquisition and collecting data
You get high-frequency, low-overhead runtime insight into variables, CPU load, or system behavior without trace hardware.
Overview
This guide shows how to use MegaSampling, a hardware-based sampling profiler, to observe real-time system behavior via the debug port.
Use MegaSampling when:
•You don’t have trace hardware available
•Software instrumentation is not allowed or adds too much overhead
•You need high-speed insight into variables or CPU load
By the end, you will be able to:
•Configure and run MegaSampling in multiple environments (daqIDEA, winIDEA Analyzer, XCP, winIDEA SDK)
•Capture and analyze real-time sampled data
Before you start
Requirements
•Software: winIDEA (Pro license required)
•Hardware: iC7pro/iC7max + Active Probe
Notes:
•Currently supported on AURIX.
•By default MegaSampling is selected as DAQ mode. You can disabled it in Hardware > Options > BlueBox.
Dependencies (optional)
•CANoe / CANape / INCA (for XCP use case)
•winIDEA SDK for Python (for SDK use case)
Background knowledge
•Basic debugging in winIDEA
•Understanding of sampling vs trace (sampling is approximate, not exact)
Steps
Follow these steps to run MegaSampling.
Prerequisites
MegaSampling relies on an active debug connection.
1. Start a debug session.
2. Select a sampling method:
•daqIDEA → quick visualization
•winIDEA Analyzer → advanced analysis
•XCP → external tools (CANoe, etc.)
•winIDEA SDK → automation & scripting
Perform MegaSampling in daqIDEA
Use this for fast variable monitoring.
1. Open winIDEA, select Test > Launch daqIDEA.
2. Select actions in the Application control section.
a.Download application (green arrow and the black stop button)
b.Run application (green play triangle button).
3. Add variables to observe in the Variable Settings section.
4. Select Start DAQ process (green play triangle button) in Data Acquisition Control.
5. Let it run.
6. Select Stop DAQ process (red stop button) when enough data is collected.
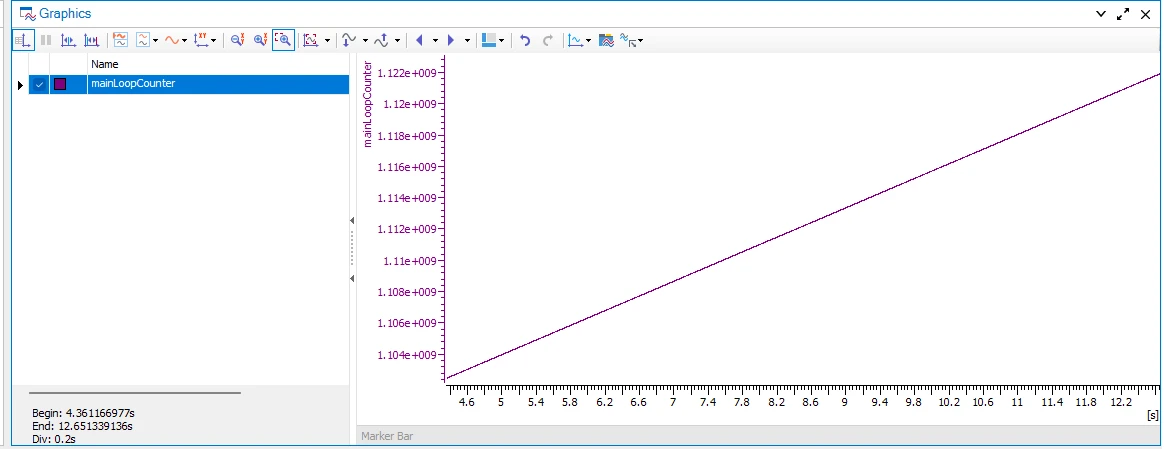
You see real-time graphs of sampled variables.

Perform MegaSampling in winIDEA Analyzer (advanced analysis)
Use this for deeper analysis and correlation.
1. Open a new Analyzer window.
2. Enable Show Data in the Profiler Timeline window.

3. Configure in the Recorder page.
a.Enable Profiler.
b.Disable Coverage.
c.Enable General Time Sync Messages.
d.EnableUpload from SoC while sampling.
e.Enable Upload from BlueBox while sampling.
4. Enable Data in the Profiler page.
5. Add New Data Item in the Profiler page and configure:
a.Select Sampling as Acquisition Method.
b.Choose variable(s).
c.(optional) Configure other sampling settings matching your use case.
6. Run the Analyzer.
You get synchronized, analyzable data (CPU load, variables, system behavior).

Perform MegaSampling via XCP
Use this to stream data into tools like CANoe.
1.Start a debug session in winIDEA.
2.Select View > XCP > Status window to open XCP.
3.Click the Configure button (gear icon) to edit options.
4.Select View > XCP > Generate A2L file:
5. Select variables and generate.

6. Under %YOUR_WINIDEA_PATH%/Templates/XCP select WINIDEA_XCPSERVER.a2l.tpl.
7. Save A2L file to desired location.
8. Open XCP client and add XCP device.
In this example CANoe was used.
9. (optional) Configure settings.
10. Set items as DAQ items.

External tool receives high-speed sampled data.
MegaSampling over SDK
1. Install winIDEA SDK for Python.
2. Use the following Python examples:
Resources
•Acquire and Visualize Data with daqIDEA